Friday, March 6, 2015

Ribbon Quilt

A wonderful friend of mine lost her mother to a long,hard fought battle with breast cancer.  She saw a 'pink ribbon quilt' online and asked if I could recreate one for her.  So, I sat down with my eQ7 program and worked out the layout and dimensions to make a lap size quilt.  As it turns out this is a very simple quilt that works up quickly and easily.  Wanted to share how I made my quilt in case anyone wanted to make one of their own (could be customized to any cancer color).
the inspiration


 EQ7 pattern
This is my first attempt at a tutorial, and apologize if anything is unclear or left out.  My friend wanted at lap size quilt so I made my overall dimensions 54" x 66".  To keep the math nice and simple (and because I hate working with small pieces, especially triangles) went with 6 inch finished squares for ribbon motif, then worked my way out from there.

Fabric requirements are:

  • white/background fabric = 2 yards
  • assorted pink fabrics = 2 yards (can use as may or few as desired depending on how scrappy you like your quilts)
  • pink outer border = 1&1/4 yards (unless you use a 'directional' fabric like I did then will need more)
  • backing & binding fabric = 4 yards

my fabrics!
Found a little fabric shop in town that didn't have a huge selection, but had everything I needed.  I picked out 6 different pinks for my pieced squares and border, a plain white for my background, and a directional 'love' fabric for my outer border.  The bottom pink fabric with thread will be used for the backing and binding.


Step 1.Press fabrics.  I do not subscribe to the pre-washing fabrics club.  Lots of folks do & lots of us do not...feel free to do which ever you are comfortable with.

Step 2. Rotary cut all pieces.  This is such a hard step for me to follow.  When working on a new pattern, it's so hard not to cut just a few pieces and jump into sewing because I'm so excited to see things start coming together.  But, cutting everything up front makes the sewing/piecing so much faster.  Here are the rotary cuttings needed:
    • from background fabric:  
      • need 1 strip 6&7/8" by width of fabric
        • from this strip cut 4 squares 6&7/8" wide & then cut once on the diagonal - this will yield 8 half square triangles needed for piecing the 8 'A' blocks
        • can then use remaining strip fabric to cut out 3 squares 5&1/8" which will also be cut once on the diagonal to yield 6 half square triangles.  Five of those triangles will be used to piece the 'B' blocks.
      • need 2 6&1/2" squares for ribbon motif
      • need ~4 strips 6&1/2" wide x WOF (width of fabric - from selvage to selvage) for border #1
      • need ~ 4 strips 2&1/2" wide x WOF for border #3
    • from assorted pinks
      • cut strips 5&1/8" wide, then cut into 5&1/8" squares - need 16 squares total.  Next cut squares in half diagonally to yield 32 half square triangles - will use 31 to piece squares.
      • next cut 6&1/2" squares - need 28 total for block border
    • from pink outer border fabric
      • need ~5 strips 4&1/2" wide x WOF
half square triangles

can cut on either diagonal


be sure not to cut 6&1/2" blocks


Step 3.  Begin by laying fabrics out to for pink ribbon center (use diagram as guide).  Once you have your fabrics laid out the way you like, it's time to start sewing!!  (tip:snap a quick pic of pieces before beginning to sew in case pieces get shuffled)  Piecing can be done in any order....can make all 'A' blocks, then all 'B' blocks, or work blocks one row at a time (which is what I did).


Block 'A'
 For 'A' blocks, begin be sewing 2 pink triangles together and press seam towards the darker fabric.  Next sew the big pink triangle to the white triangle to make a square pressing seam toward pink fabrics.


Block 'B'
For 'B' blocks, will sew 2 pinks together and then pink and white.  Here will want to press seams in opposite direction (for white/pink combo press towards pink & then in opposite direction for the 2 pink triangles - note this may not end up being toward the darker of the 2 pink fabrics, but that's ok.)  Sew the 2 large triangles together now, locking the center seams together to ensure seams line up.  Press final seam towards the 2 pinks triangle.


my quick pic of fabric placement
Once blocks are pieced, can start sewing blocks together in rows (I sewed my in horizontal row, but can do in vertical rows if desired....just want to be sure and sew seams between blocks in opposite directions from row to row so that when rows are sewn together can lock seams to ensure block alignment). 
all pieced together
Step 4. Adding the borders!!
  1. For the first border, begin with the 6&1/2" wide strips of white fabric.  Attach the vertical pieces first, and then the horizontal.  I did not trim the vertical strips until after I attached to quilt center and pressed seam.  For me, I feel like this helps to keep the quilt nice and square as well as take away chance of measuring incorrectly and cutting too short (by less than an inch.....believe me you do not want that to happen).  Save those trimmed pieces as you will need to attach them to horizontal pieces before they get sewn onto quilt to ensure they are long enough.  Again leave them long and trim later.
  2.  The block border is next.  Again would suggest to layout placement and snap a quick pic once you get blocks where you want them.  Can put blocks in a pattern or completely random, whichever you are comfortable with.  Will need 7 blocks sewn together for each border section (two sets of 7 blocks vertically & 2 sets of 7 blocks horizontally.
    block border fully assembled
  3. Border number 3 is the 2&1/2" strips of white fabric.  Sew this the same as border #1.
  4. The last round of border material for my was a little tricky.  I had purchased a 'directional' fabric, meaning the pattern only works in 1 direction, so I had to do a few extra steps.  Also because of the directionality of my fabric, I cut my fabric wider than pattern called so as to make the fabric look right when cut.  These strips will be attached the same as all the other borders, vertical first then horizontal.
    my completed quilt top ready for quilting!
    Hope someone finds this tutorial useful!  Please let me know if anything is unclear & I will do my best to clear up the confusion.
Thanks for stopping by!!

Tuesday, April 26, 2011

Egg-cited!!!

Wow, what a crazy couple of weeks it has been.  Got my taxes paid (with only a couple of days to spare), survived annual inventory at work, and hosted an Easter egg hunt for Hannah's class.  The egg hunt was awesome.  We had 300+ eggs scattered in our yard along with 3 huge (football-basketball size) prize eggs.  Now we intentionally let the mowing go an extra couple of days to help with the hiding, but I was slightly embarrassed when I saw a little girl pick up a prize egg that was completely hidden in a extra tall patch of grass.  Should also be fun to see just how many dandelions pop up in the coming weeks, thanks to all the kiddos scattering those puff seeds!

Kentucky Quilt - UFO #2


edge before squaring
On the quilting front, I got my Kentucky quilt back from Miss Debbie, and she did a fabulous job binding it for me.  I also made some head way on what I'm calling my "rehab" quilt (simply because in was in desperate need of a little TLC).  The edges were so off kilter that I had to employ my husband and his lazor level to straighten them out.  After adding a couple sashing rounds it still is quite wonky in the middle, but I'm hoping to eventually quilt it into complete submission.


The "Rehab" quilt


Have I mentioned my baby is turning 6 in just over a week?  And graduating from kindergarten in 4 weeks? It just doesn't seem possible.  But I must say, she does have some very interesting things coming up with school.  One of which involves this old pair of retired jeans and yarn.  I'll leave you guessing for now, and only hope the finished product looks as good as I'm imagining!! (here's an extra hint - I need to buy some brown fleece to complete the project)

school project

Wednesday, April 20, 2011

Catching up!

Wow, I cannot believe that April is already half gone!  March was super busy and just seem to drag on and on, but I've gotten a break this month and time is simply flying.  No fair, but I guess such is life.  Even though April maybe a little slower paced, it is not with out some noteable highlights....

Happy Birthday Katelyn!


My little girl turned 3!  I just cannot believe that Kate is so big already.  She has brought me loads of fun, and even brought quilting into my life.  While pregnant with her my mom's friend Leona convinced my mom she needed to take a quilting class who convinced me I needed to join her.  I was able to learn enough to complete my first quilt just days before she was to be born, and I was lucky enough to have my Granny Alice and her sister Jewel quilt it for me/her.

Kate's crib quilt
UFO Challenge update:

I'm beginning to think this challenge for me should be "how to stay focused".  Each month a number is drawn out of a hat, and the corresponding quilt is to be my project for the month.  For whatever reason I'm having a very hard time with this.  When the number for January was drawn, I sighed because that just wasn't what I wanted to work on at that time.  So, I gave the project a half hearted go and ended up not finishing what should have been a very simple project.  Two quilts on my list only needed to be bound, but again I just wasn't into it and ended up paying Ms. Debbie to bind them for me (totally cheating I know).  Now that we are half way through April, I have resolved myself to just finish something!
Project Linus - Boy


While going through my sewing closet I came across a large stack of flannel squares that I had cut last year to make a fringe quilt for Project Linus.  This is a fabulous organization, and there is a local chapter of "blanketeers" at my favorite quilt shop (Paula's Quilting Pantry).  Knowing that this was an easy project to complete, and that it was for a great cause this became my April project (it wasn't even on my list).  In fact I had enough squares already to cut to complete 2 blankets.  Just goes to show that you never know what you will find in the back of a closet!!!


Project Linus - girl


Monday, March 21, 2011

"just say NO...."

I survived!!!  So glad to be home after a weekend away at my daughter's final dance competition.  What is it about being away for a few days that makes being home so much sweeter?  My girls were so excited at the start of the weekend with the idea of going away, getting to ride in an elevator, and playing with friends.  Of course, by the time we got there Katelyn was ready to go home after one trip up the elevator! 

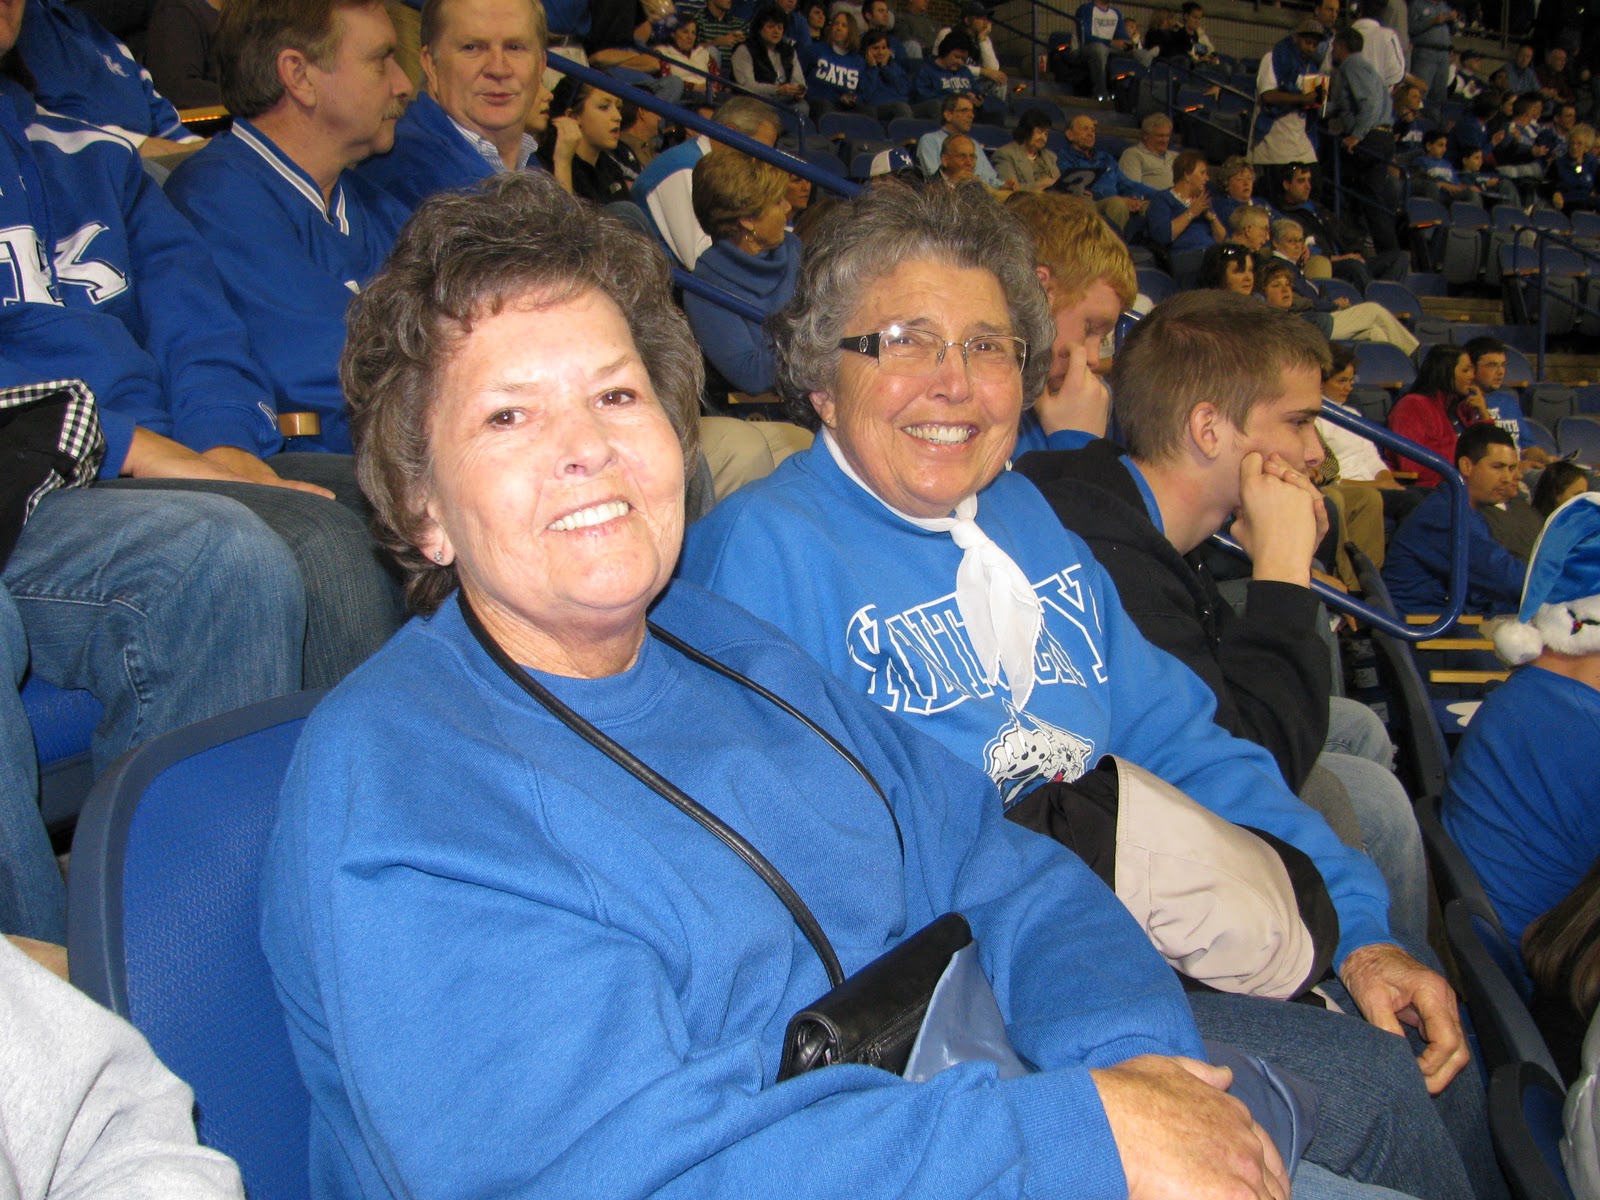
My Beautiful Dancer!


This leads me to ask the question, "why is it so hard to 'just say no'?".  I always find it awkward to tell the sales clerk at the register in the mall "no thanks" when they ask for either my phone number, email address or zip code.  Seriously, who needs anymore junk mail (real or virtual).  Or when your child's dance teacher asks if your daughter can join a travelling dance team because she thinks she is a good dancer.  Or when a co-worker asks could you please cover a shift for them.  Or when your Grandmother asks if you want some chocolate pie (bring on the drawstring pants).  Or when coming accross some pretty fabric, a new pattern book, or the coolest new gadgit/gizmo.  And, of course, who can resist buying fictional novels about quilting at a going out of business sale?


New books!!  Love the name of the far right pattern book.

Sometimes it's just easier to say "ok" I guess.  I find that when I say "no" the other person looks at me as if I need to give a big explanation as to why not (especially the young girl behind the register who does not know how to proceed without the afore mentioned info).  Since beginning the UFO challege I have acquired more projects than I have finished.  In fact the only 2 projects that have been completed thus far were completed by someone else (thanks again to Debbie for binding my quilts)!  So while for the moment I stand resolved to never again get myself into the perdiciment called "March Madness" again, I also know that it is best to "never say never".


UFO update:

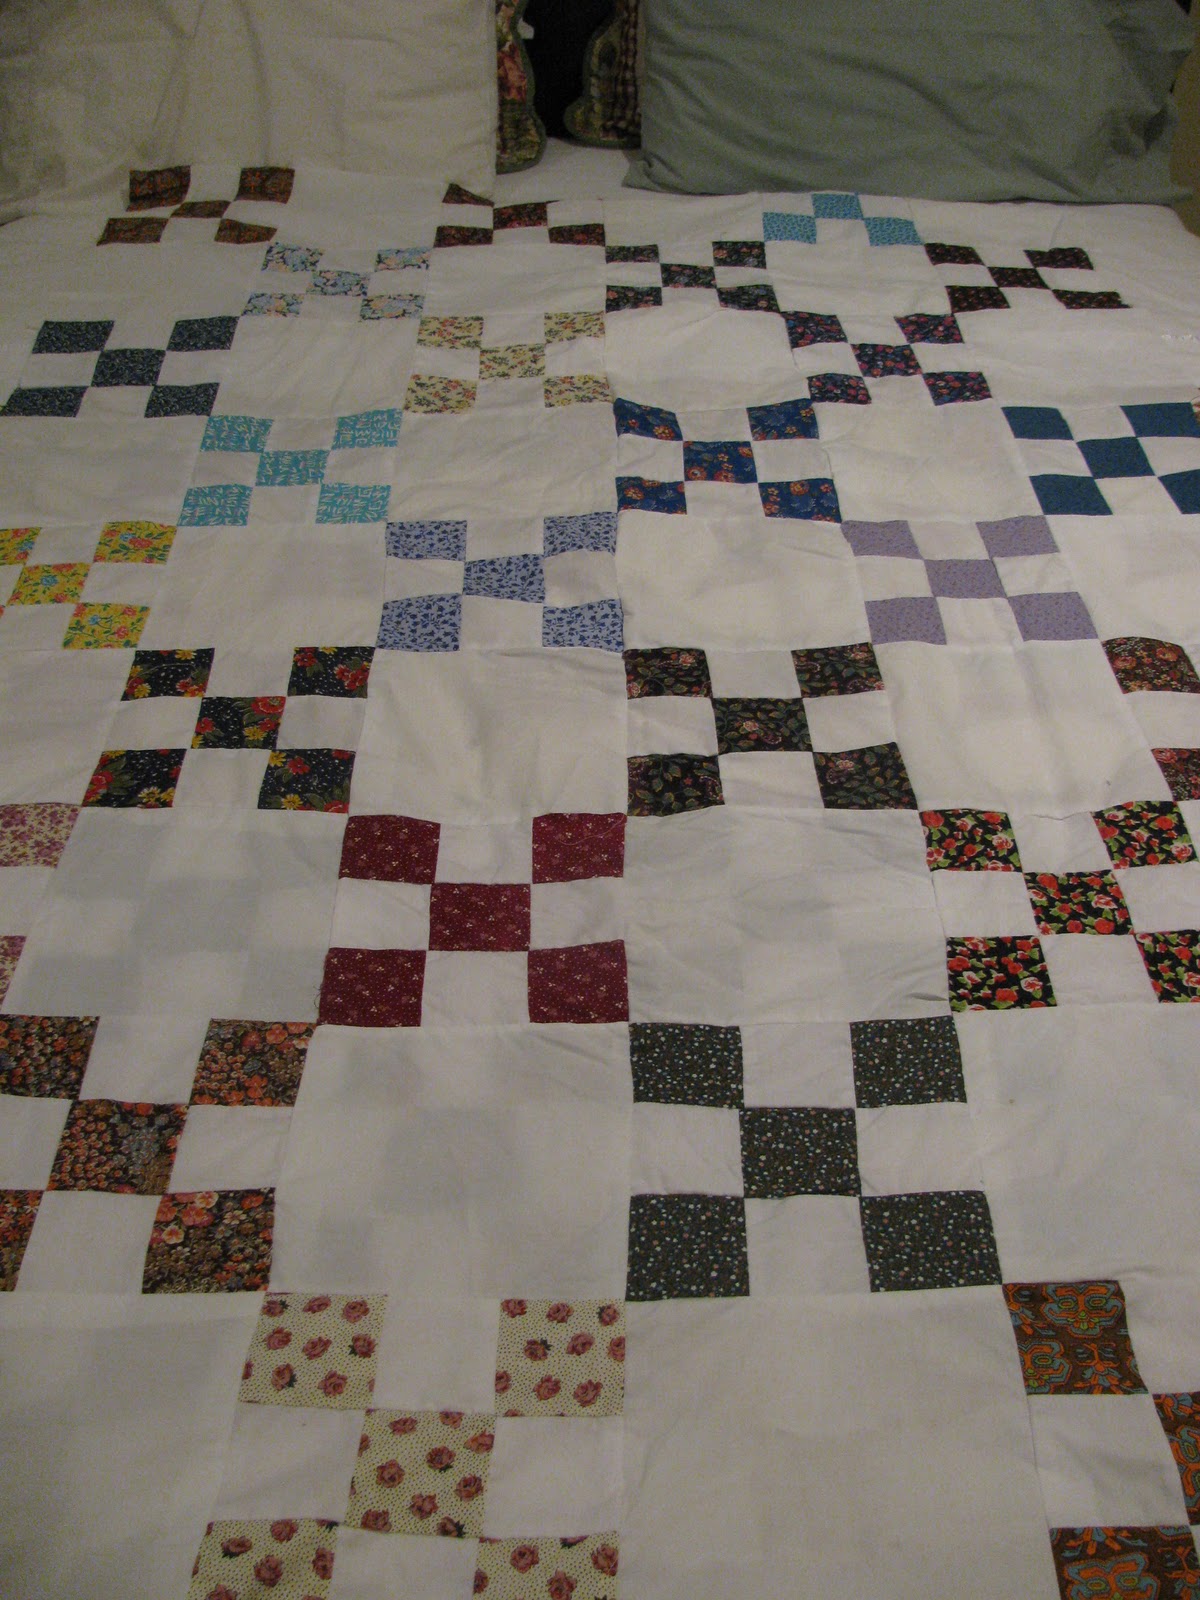
My Granny Alice brought over the quilt below a couple of weeks ago because she needed a "little help".   This quilt had been started by a friend of hers that had passed away a few years back, and she thouhgt she could finish it herself.  I was pulled in because she could not figure out what size squares she needed to cut to finish the 9-patches and solid blocks.  Out come the rulers, and once the sizes are determined I am asked to go ahead and cut them out from the fabric she just happened to bring with her.  "OK", I say, "but it will be tomorrow".  "No problem", Grany replies.  The next day, "Granny, I got your pieces ready to go."  Then Granny says, "Well why don't you just finish it, I don't think I can".  Can you say "sucker" :-D.    


New UFO I was suckered into completing

in bad need of some TLC

As you can see from the picture below, not much progress was made on March's UFO.  Normally it would be no big deal, I mean it's a UFO and it's been sitting around for a while already, what's a few more weeks/months/years?  Except this is the quilt I intend to give my baby sister as a wedding gift.  Good thing the wedding isn't until October!

March UFO - safe and sound


Tuesday, February 22, 2011

Finally, some progress.....


Yea!  I'm so excited to finally have some completed projects around my house.  Some of these I didn't think would ever get completed, but persistence has finally paid off. 

T-shirt quilt to be quilted - check
Baby afghan with matching hat - check
Apron for local bakery owner to wear to events - check
Sunflower quilt bound (thanks to Debbie)- check


pay no attention to that woman behind the apron :-D


It feels so good to be able to check things off a to do list.  I think the added pressure of most of these projects being for others and not myself got to me a bit.  When it's something for myself, no big deal it doesn't have to be picture perfect.  Proof of this is easy to see in the sunflower quilt.  This quilt by far has been then largest project I've attempted.  I was so proud of myself, until I took it to Paula's Quilt Pantry to be bound only to find (as I was showing it off) that I'd missed the center of one of the sunflowers when I was quilting!  ( I seem to remember reading somewhere that "perfect" quilts were bad luck)  Needless to say, we had a good laugh over it.  But if that had been something I was doing for someone else....I think I would have croaked.


empty sunflower :-/
Looking froward to March it will definitely be full of "madness".  We have 3 dance competitions (one of which will include an overnight stay), my husband's birthday, my Granny Betty's 90th birthday party, and my sister Amy and daughter Katelyn have birthdays the first of April.  Not to mention all the other UFO's that need some attention.  So in a couple of weeks we'll start dancing and partying every weekend, but for now I will bask in some laziness before the next round begins!

Tuesday, February 8, 2011

Sad, but happy....

Patsy's quilts
On Thursday night I lost my Great Aunt Patsy.  She was such a wonderful person and crafter.  My Granny Alice taught me some basics of crochet when I was a young girl, but Aunt Patsy taught me how to read patterns and thus opened the world of crochet to me.  Aunt Patsy was always making something for someone.  Sometimes she sold them and other times she gave them away.  It always amazed me at the things she would come up with to make, what a truly creative person she was.  Like myself she liked the "figuring it out" part of any project.  Once when we were at a baby shower and an afghan was opened, we both were first to say pass that over here so we can see how it's made. 


my baby blanket(left) - Hannah's baby blanket(right)

Aunt Patsy was always full of spunk, and rarely hesitated to say what was on her mind.  Last year I got the opportunity to take both Aunt Patsy and Granny Alice to a UK basketball game at Rupp Arena.  We were even fortunate to get lower arena seats.  If you've never been the opening lineup announcement is quite theatrical with spot lights and fireworks.  After the players are announced the student section is introduced as the "sixth man" for UK.  This is a group of students who get to sit behind the ball goal, and is referred to as "The Eruption Zone".  I almost lost it when Aunt Patsy leaned over to my baby sister and asked, "Did he just say 'erection zone'?"  (Poor Amy)


doily made by Patsy


She suffered many ailments toward the end, but she found comfort in Isaiah 40:31;  "But they that wait upon the Lord shall renew their strength; they shall mount up with wings as eagles; they shall run, and be not weary; and they shall walk, and not faint."  What a wonderful promise that she is enjoying right now!  She left behind quite a legacy, both as a person and crafter.  I will always cherish all of the projects I got from her, and will looking forward to seeing her again someday!

Great Aunt Patsy and Granny Alice (left to right)


Wednesday, February 2, 2011

It' groundhog day!!!!!


UFO #6


Well it's groundhog day, and I'm feeling a bit like Bill Murray. The past couple of weeks seem like part of a wild dream. I joined the UFO challenge as a way to motivate myself to finish all of these projects I've got laying around the house(literally), but instead I seem to have even more projects popping up. So far for the month of January I was to complete a table runner, but instead I've crocheted baby hats, agreed to crochet a baby afghan (with matching hat), quilt a t-shirt quilt, and make aprons for a girl's bakery when they vendor!


apron fabric

Needless to say my UFO project for January did not get 100% finished, but it did get some much needed attention.  The deadline was 1/31, but I'm going to give it until the end of the week.  My work schedule is nice in that every 3rd weekend I work Sat and Sun, which then gives me the rest of the week off (woo hoo!! 7 days off in a row).  It's like being on vacation every third week!  So I have dubbed these "vacation" weeks as crafting weeks.  Hopefully this week I can catch back up and even finish a project (or two)!!!


0But alas, besides these projects there are of course all the little nuances that pop up called life. Things like my dad's 18 year old truck getting stolen right out of his driveway. That thing was like a part of the family. So, when it was found completely torched we almost feel as though we needed to have a funeral. Then of course with 3 kiddos if 1 gets sick odds are there will be more sickness to follow (they are so very good at sharing the good stuff like flu and strep germs)! Poor planning on my part...can you say grocery store, first of the month, during a winter weather advisory.  Good times for all.  And don't even get me started on this weather! At first it was nice and pretty, but know it's just annoying. With a 4 month old you kinda feel like a prisoner in your own home because you don't want to expose them to the harsh temperatures, rain/snow, gusting winter winds, or germs of all shapes and sizes!!!

baby afghan

But, with all the craziness aside I have even more to be thankful for everyday. Another self issued challenge is to read my Bible thru from cover to cover.  My dear, sweet husband got me an iPod for Christmas to which I can down load music, games, and all kids of apps.  While browsing the app store at the beginning of January I found a Bible reader app, and since it was free had no reason not to download it to my iPod.  I don't get to read as much as it recommends everyday, but what I do get to read has proven to be very encouraging and uplifting.  So here's hoping ol' Puxatawny Phil is right and spring will make an early arrival. Just can't wait to see what will "hatch" next!?!?!?